Everything You Need To Know About The Matter Pairing Process
Pairing your new Matter accessory should be simple—but behind the scenes there’s a lot going on. Here’s what you need to know about the process.
Please note: This page may contain affiliate links. Read our ethics policy
Pairing your new Matter accessory should be simple—but behind the scenes there’s a lot going on. Here’s what you need to know about the process.
Don’t Lose That Matter Pairing Code
All Matter devices are shipped with a security code that enables the initial pairing. This can take a few forms: a printed 12-digit number, a QR code that encodes that number, or an NFC chip (or some combination thereof). This is usually found on the back of the device, on the power cable, or affixed to the user manual.

Without that code, you won’t be able to pair the device. Do not lose it.
Adding it to your Matter controller is a simple process: find the “Add Accessory” button (usually a + symbol in the top right), and scan the code. You might find the device is automatically detected, but you’ll still need to scan the pairing code to authenticate.
Matter QR codes are not one-time use, so don’t throw them away once you've completed setup. If you ever reset the device, you’ll need that code again.
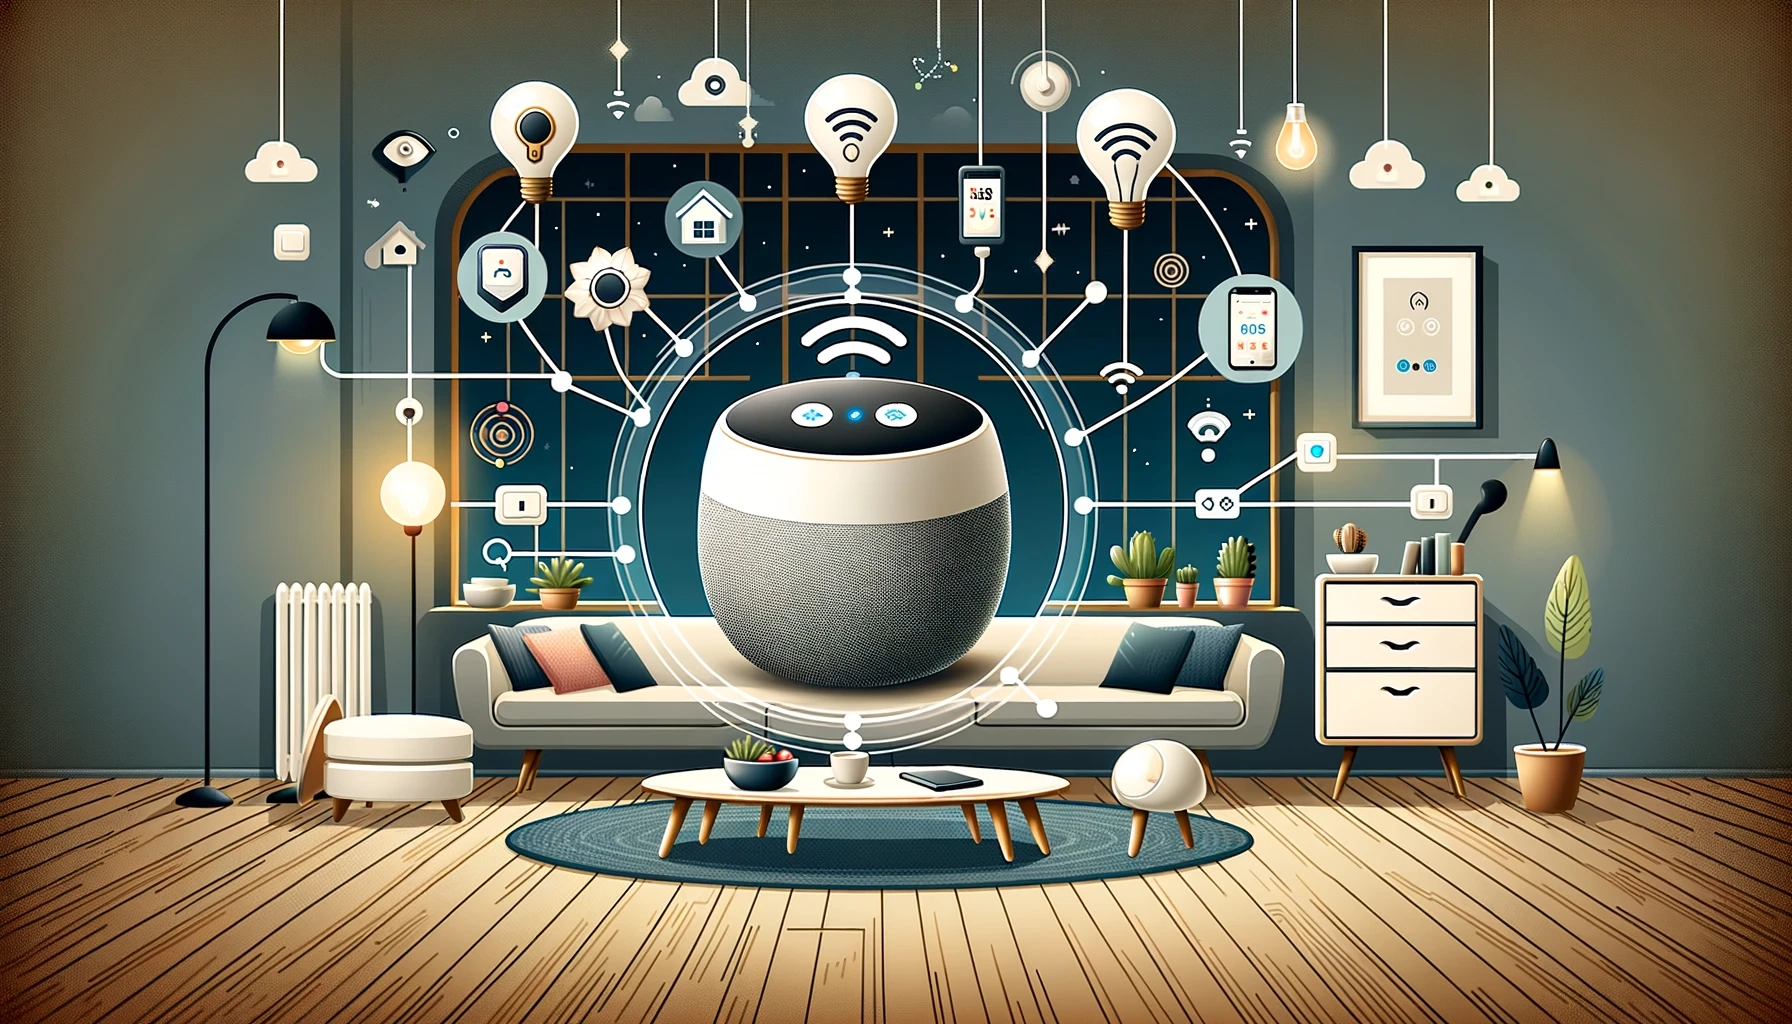
The Matter Pairing Flow
While pairing a device to your Matter controller is (usually) a streamlined process for the user—click add, scan the barcode, done—there’s a lot more going on behind the scenes for the commissioning process.
The first stage is discovery: the Matter accessory broadcasts its existence over supported protocols. This is usually a Bluetooth Low Energy beacon, which can be picked up by any smartphone in range.

Next, you request to add the accessory, you’ll need to enter that initial pairing code, which is used by the controller (your smartphone) to initiate a secure communications channel with the accessory.
Once communication channels are open, the controller authenticates the device using its unique device certificate (Device Attestation Certificate, or DAC), ensuring that it is what it says it is, and isn't a rogue device looking to hack your network. The controller then takes on the role of a certificate authority, and writes a new Operational Certificate (OpCert) to the accessory. This prevents a malicious controller from taking control of your commissioned devices, or listening in on them. Security is built-in to Matter accessories at the core, and all communications are encrypted.

[Image credits: Silabs.com Matter documentation]
Your home controller can also verify the accessory against the Matter blockchain ledger, and check for updates. The Distributed Compliance Ledger (DCL) isn’t a secret database run by shady smart home organizations: anyone can access or duplicate the ledger locally, and all Matter-certified devices are contained there. You view it yourself in our Matter Product Database, which initially draws its information from the DCL to know when new products are certified.
Finally, having confirmed that the device is genuine, the controller provides the network details if needed—such as the Wi-Fi password—that allow the accessory to connect to your network. Of course, not all accessories will use Wi-Fi; some may use Ethernet, or the new Thread standard (what is Thread?)
Once the controller confirms a successful connection, you’ll be asked to assign the accessory to a room and give it a name. At this point, you're all set.
Multi-Admin Mode
If you’re in a household with multiple voice assistants or smart home platforms, you might want to control your Matter accessories with all of them. This is what’s called “Multi-Admin Mode”, and it’s one of the big advantages of Matter. But it's not as simple as just opening up the second platform and doing the same process.
To add your Matter accessory to another platform, you’ll need to use the platform on which you first added the accessory to place it back into pairing mode and generate a new pairing code.

You mustn’t reset the accessory back to pairing mode from the hardware button, or you’ll break the original connection. Remember I said that in the pairing process, the controller writes a new certificate to the hardware? That's why the original certificate (and it's associated QR code) will no longer work.
There’s one exception to this: bridged accessories. If you have Zigbee sensors, for instance, bridged using the Aqara M3 Hub, or perhaps some SwitchBot Bluetooth accessories bridged using the Switchbot Hub 2, then you won’t find the option to enter pairing mode on those sensors. Instead, you should go to the bridging hub device settings from the manufacturers app (such as Aqara Home), and place it into pairing mode from there. Once the bridge has been added to your other controller, all your bridged sensors and devices will automatically appear there as well.
This Should All Be Invisible
On the user side of things, it really is as simple as scanning a QR code and assigning the accessory to a room. But as you can see, behind the scenes there's a lot going on to keep your smart home secure and cross-compatible with different ecosystems. That's the beauty of the Matter standard.
About the Author

James Bruce
Smart Home Contributor, Videographer, and Developer
James spent seven years in Japan, where he brought technology into the classroom as a teacher and worked part-time as a data centre engineer. Formerly the CTO and Reviews Editor of MakeUseOf, he has also contributed to publications like TrustedReviews, WindowsReport, and MacObserver. With a BSc in Artificial Intelligence, James combines his technical expertise with a passion for writing, programming, and tech reviews. Now based in Cornwall, he enjoys the slower pace of rural life, building LEGO, playing board games, and diving into VR.
SwitchBot Hub 2
The SwitchBot Hub 2, with part number W3202100, is a smart home hub that enables control of AC/heaters via phone and displays indoor temperature and humidity readings.
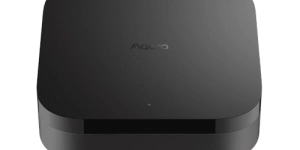
Aqara Hub M3
The Aqara Hub M3 is a Matter-compatible gateway that connects and manages up to 128 smart devices, facilitating local device automation without relying on Wi-Fi.