How to Use Cheap NFC Tags and Apple Shortcuts to Automate Your Matter Smart Home
You don't need fancy smart buttons to regain control of your smart home. Control all your devices by simply holding your iPhone to some 10-cent NFC stickers.
Please note: This page may contain affiliate links. Read our ethics policy
Did you know that if you have a reasonably modern iPhone, it can read NFC tags by simply tapping the top of your phone? You can use this as an inexpensive trigger for Apple Shortcuts, allowing you to automate your home and activate smart home scenes.
This can be really handy if, for example, you’ve replaced all your lights with smart lights and no longer rely on wall switches—or if you don’t want to spend extra money on special Matter smart buttons to control your lights. If you have many devices and find it tedious to locate the right one, a simple NFC tag can be a game-changer. Instead of purchasing a $50 physical smart button, you can use a 5- or 10-cent NFC tag.
You might think this sounds like a very complex and in-depth DIY tutorial, but it really isn’t. It’s trivial to set up, as it’s built into your iPhone and requires no third-party software.

Examples of NFC Tag Automations
Here are a few examples of how I've been using NFC tags:
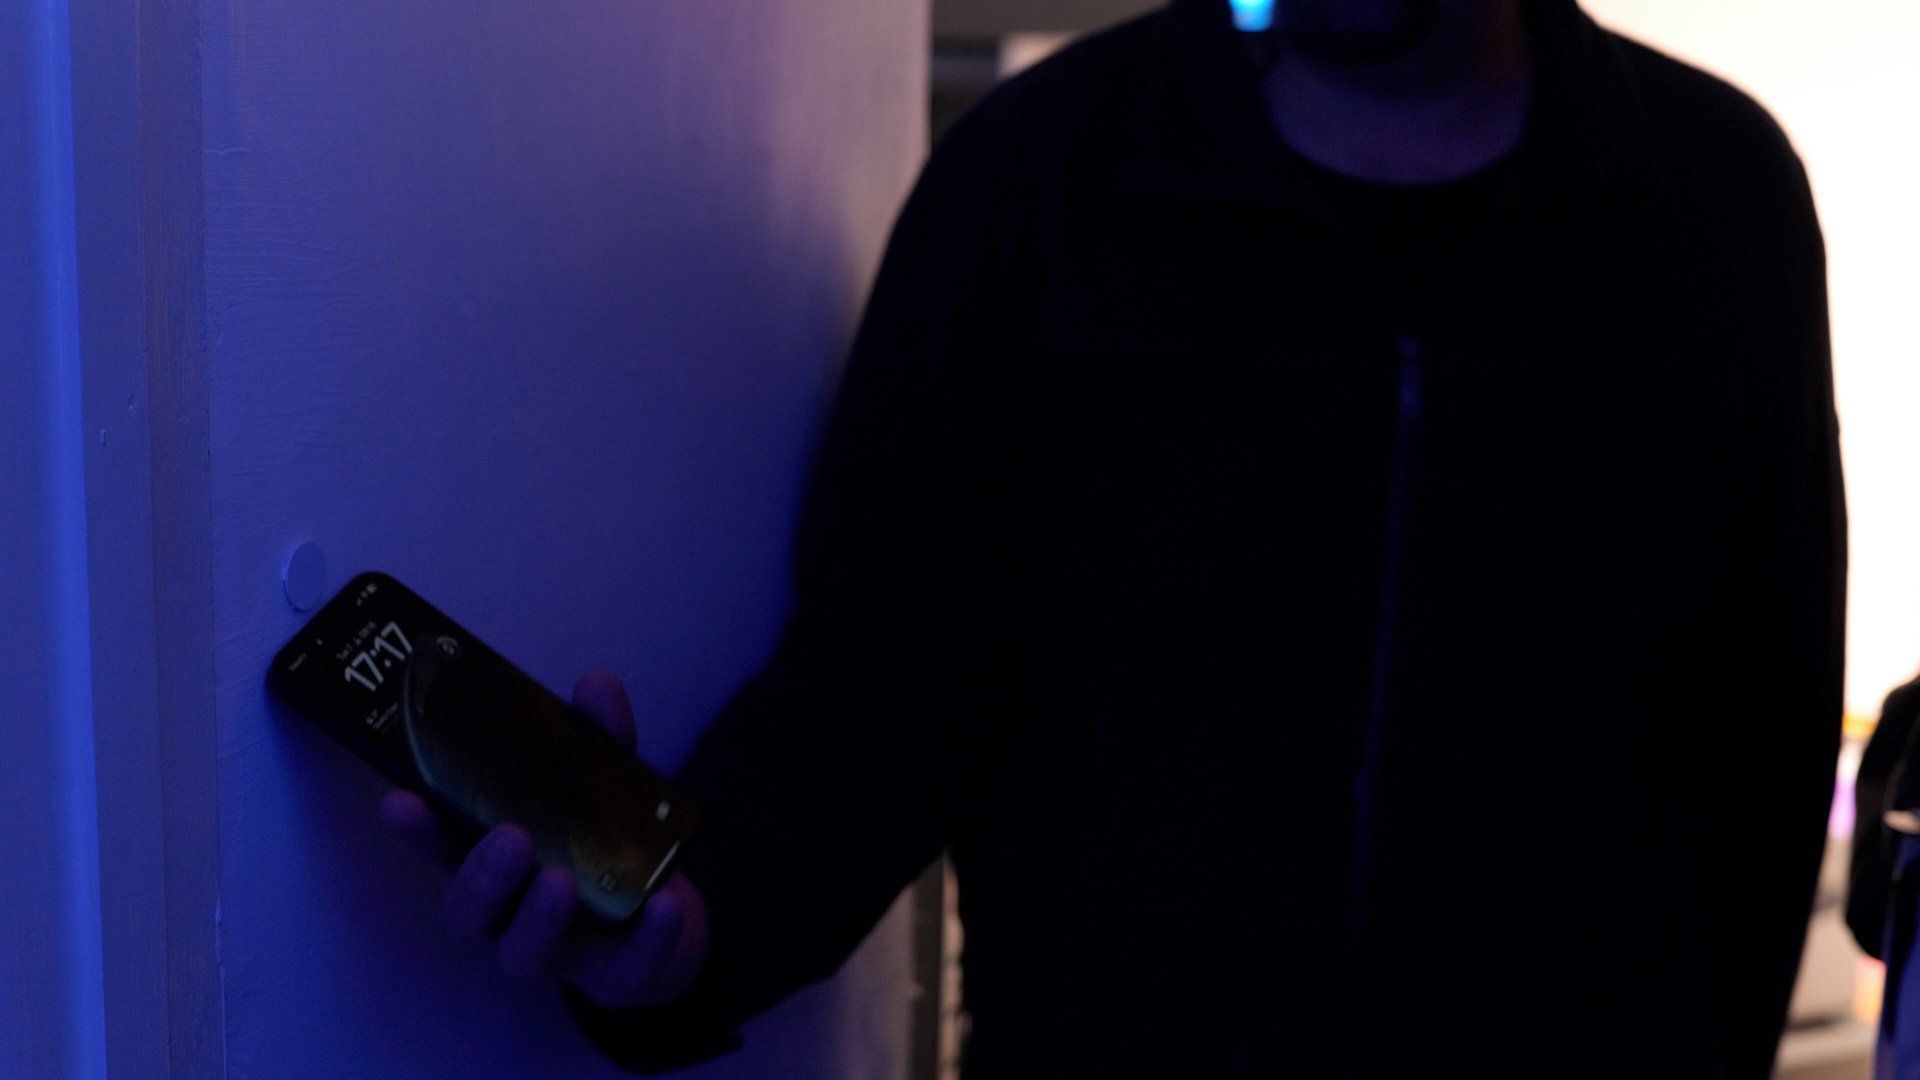
Secret Bunker Door
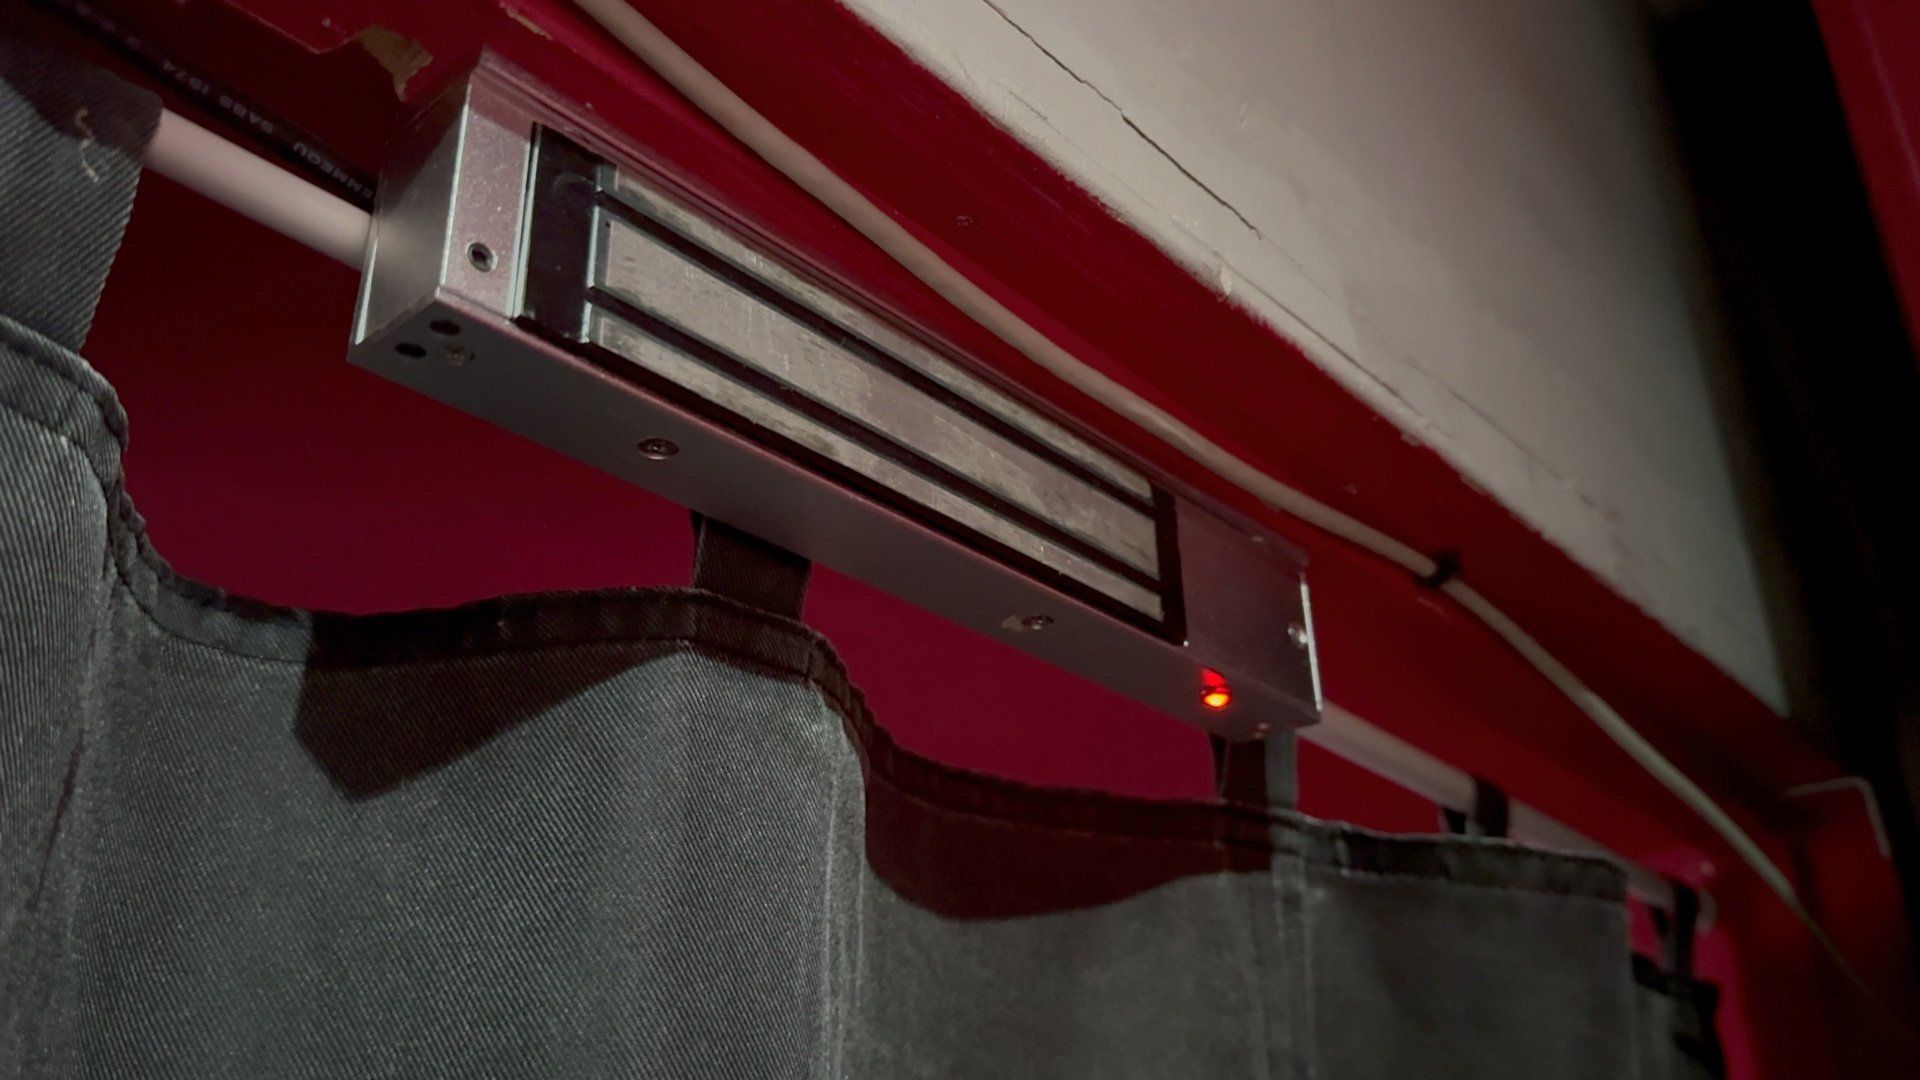
I hold my iPhone up to a discreet NFC tag, which checks the status of another door (this one will only open if the other is closed), gives voice feedback to welcome me, unlocks the door, and then 30 seconds later, re-engages the lock and reminds me to shut the door.
Office Lighting
I have several smart lights in my office, and turning them all on or off individually is tedious. There are no physical buttons to control them that are easily accessible, and I don't want to spend another $30. With a simple NFC tag by the door, I can toggle all the lights on or off with one tap.
Bedside Control
I have an NFC tag by my bed that turns off everything in the house. You could set up something similar by placing a tag near the door to put your home into low-energy mode.
The possibilities with Apple Shortcuts are endless once you start exploring all its features. Today, I’ll guide you through the basics of setting this up, the hardware needed, and an example of a conditional IF/ELSE shortcut. This is a beginner-friendly tutorial, but you can expand and make it as complex as you’d like.
Hardware Needed
- NFC Tags: I use incredibly cheap NTAG215 discs that I bought years ago for about $20 for 100 of them. These can have up 512 bytes of data read from and written to them. Fun fact: these are the same chip used in Nintendo Amiibo cards, and I purchased them during my Animal Crossing New Horizons phase (for reasons). For our purposes though, you don’t even need to write data to them—just use their unique IDs as triggers in Shortcuts. Mine were already coded with unique IDs, though I don't know if this is common. You can buy NFC tags as stickers in white or black, but I’m using what I have, secured with sticky tape. Although not required, if you're worried about the IDs being similar because multiple tags are triggering the same Shortcut, download the free NFC Tools app to verify the data and write unique IDs.
- Compatible iPhone: While iPhone 7 and later models can technically read NFC tags in specific apps, only the iPhone XR and XS onwards support background NFC reading, which you’ll need for Shortcuts. Your phone doesn’t even need to be unlocked—just hover it over the tag for a few seconds.
- Matter Smart Home Devices: Obviously, you'll need some smart home devices that you want to control. Any Matter-compatible smart home device can be controlled via Apple Shortcuts (Non-Matter devices can also work as long as they support Apple HomeKit).
Getting Started: Setting Up Your First Shortcut
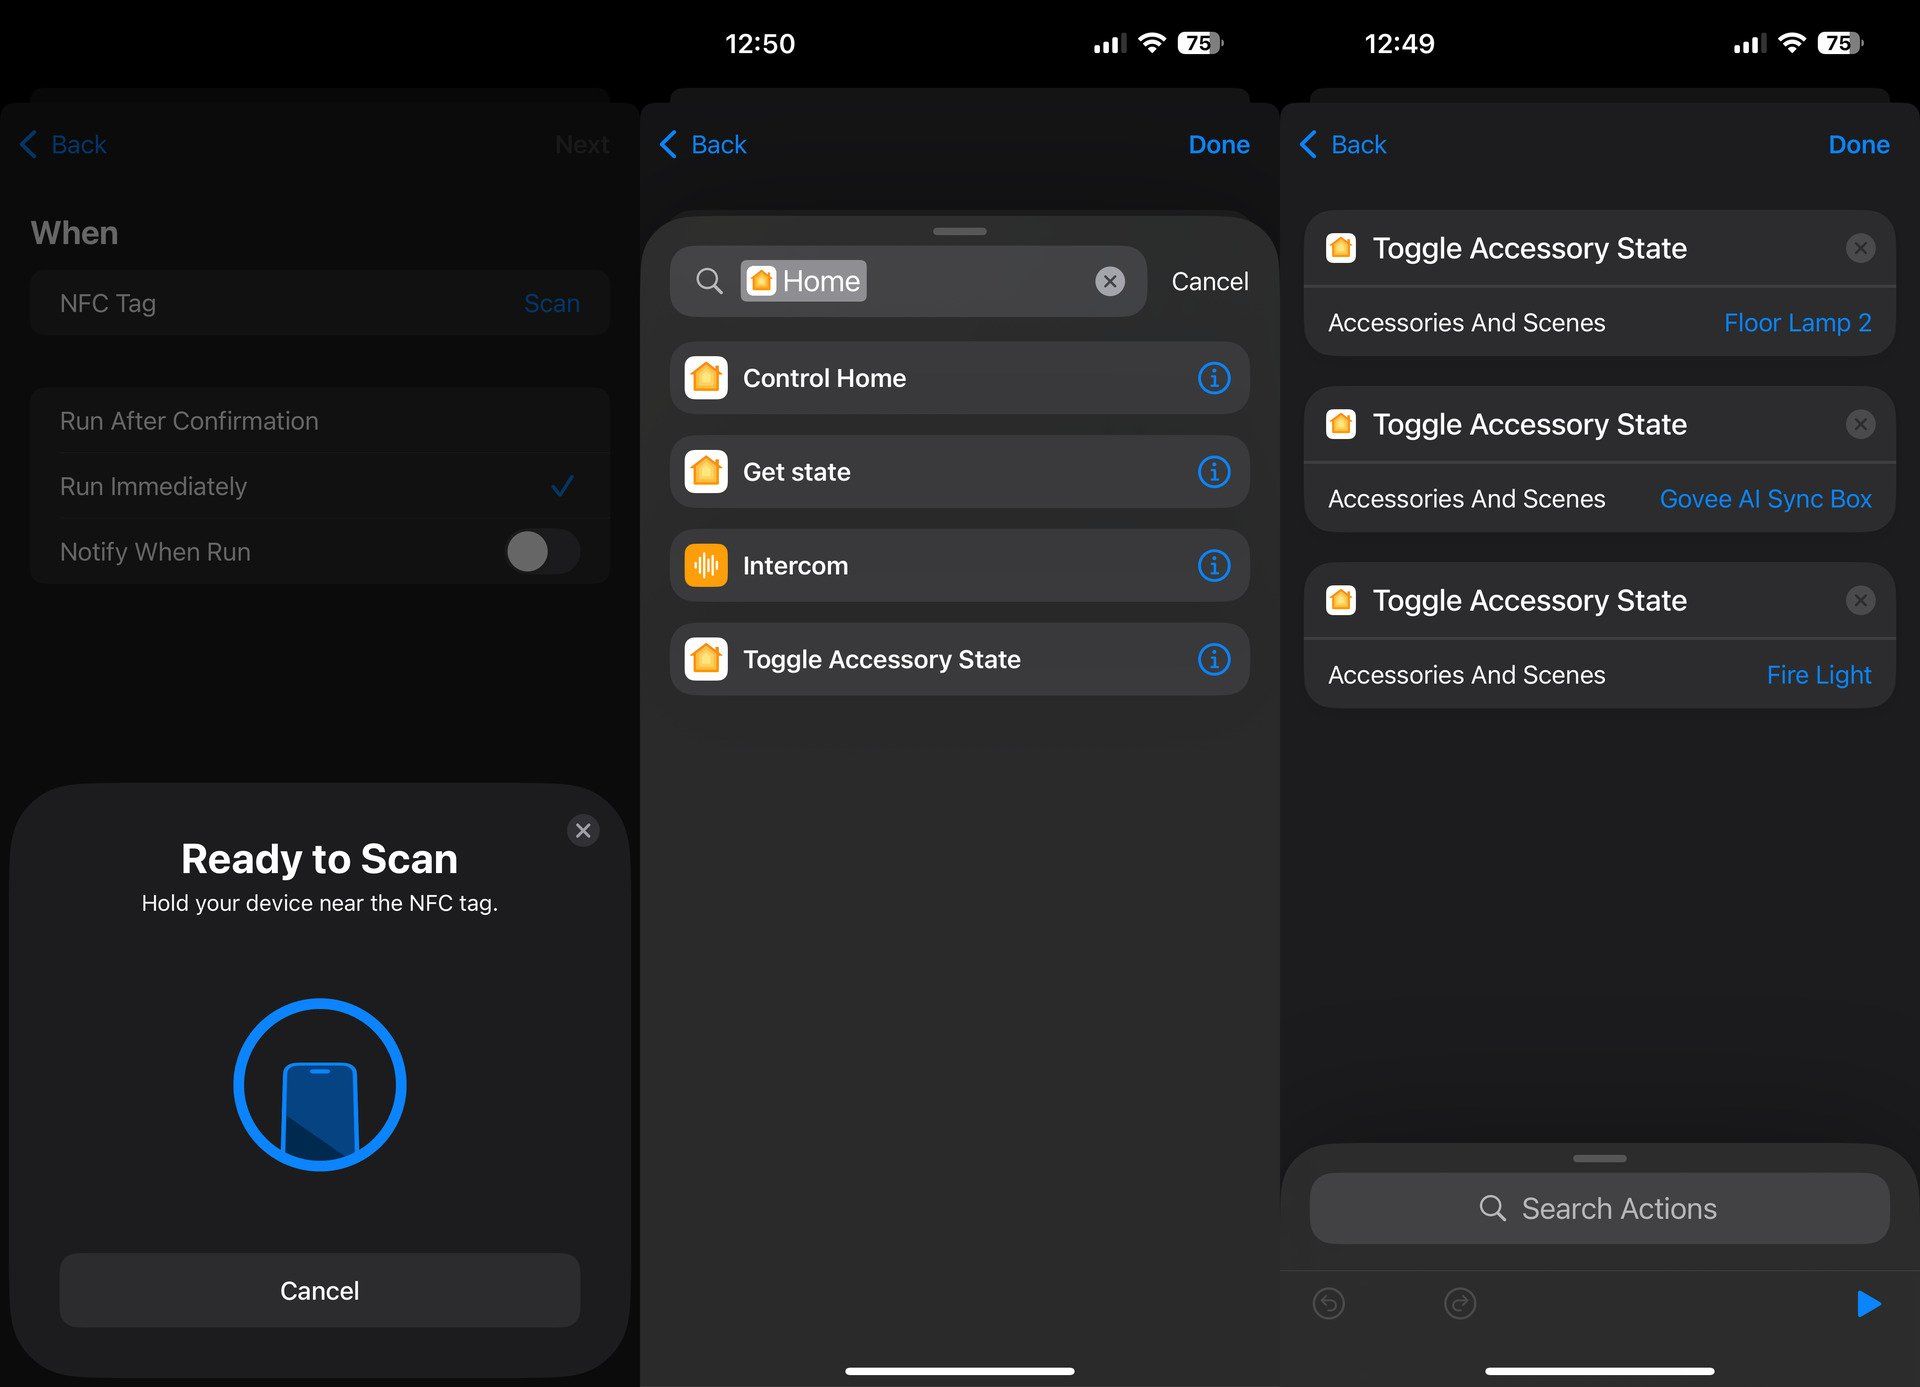
Let’s set up a basic lighting automation:
- Open Shortcuts: Go to the Automation tab and tap the “+” button in the top right to create a new automation.
- Choose a Trigger: There's a lot in the list, so search for “NFC”, select it as the trigger, tap “Scan,” and place your phone close to the tag. Name your tag and save it. Choose to "Run Immediately" and disable "Notify on Run". We want this to run silently in the background.
- You'll be shown a list of template activities - ignore these, and choose “New Blank Automation” to proceed (it's the blank box with a boring grey + symbol in the middle)
- Add an Action: Search for “Home” in the actions list and select “Toggle Device State.” This allows the same tag to toggle lights on or off, rather than needing two tags for on and off. Add your Matter-controlled lights to the action.
- Save and Test: Save the automation and test it by scanning the NFC tag.
For these simple automations, I found I usually only needed to scan the tag for about a second; the action would continue in the background. But it also wasn't consistent—it could be that a low battery state reduces the passive scanning frequency at which NFC tags are detected.
Advanced Example: Conditional Shortcut for a Lock System
For my secret bookcase entry system, I used:
- A 12V electromagnetic lock with power adapter plugged into a smart plug.
- An Aqara P2 door and window sensor (my review) running over Thread, mounted on an outer door.
This shortcut is a little more complex as it uses an IF/ELSE statement, found under the Scripting tab. If the outer door sensor detects the door is still open, Siri prompts me to close it first (this is the ELSE, or Otherwise part of the script). If it’s closed, the shortcut:
- Turns off the smart plug to unlock the door.
- Welcomes me using the Speak action.
- Waits 30 seconds.
- Re-activates the door lock and reminds me to close it (it must be pushed together to engage the lock).
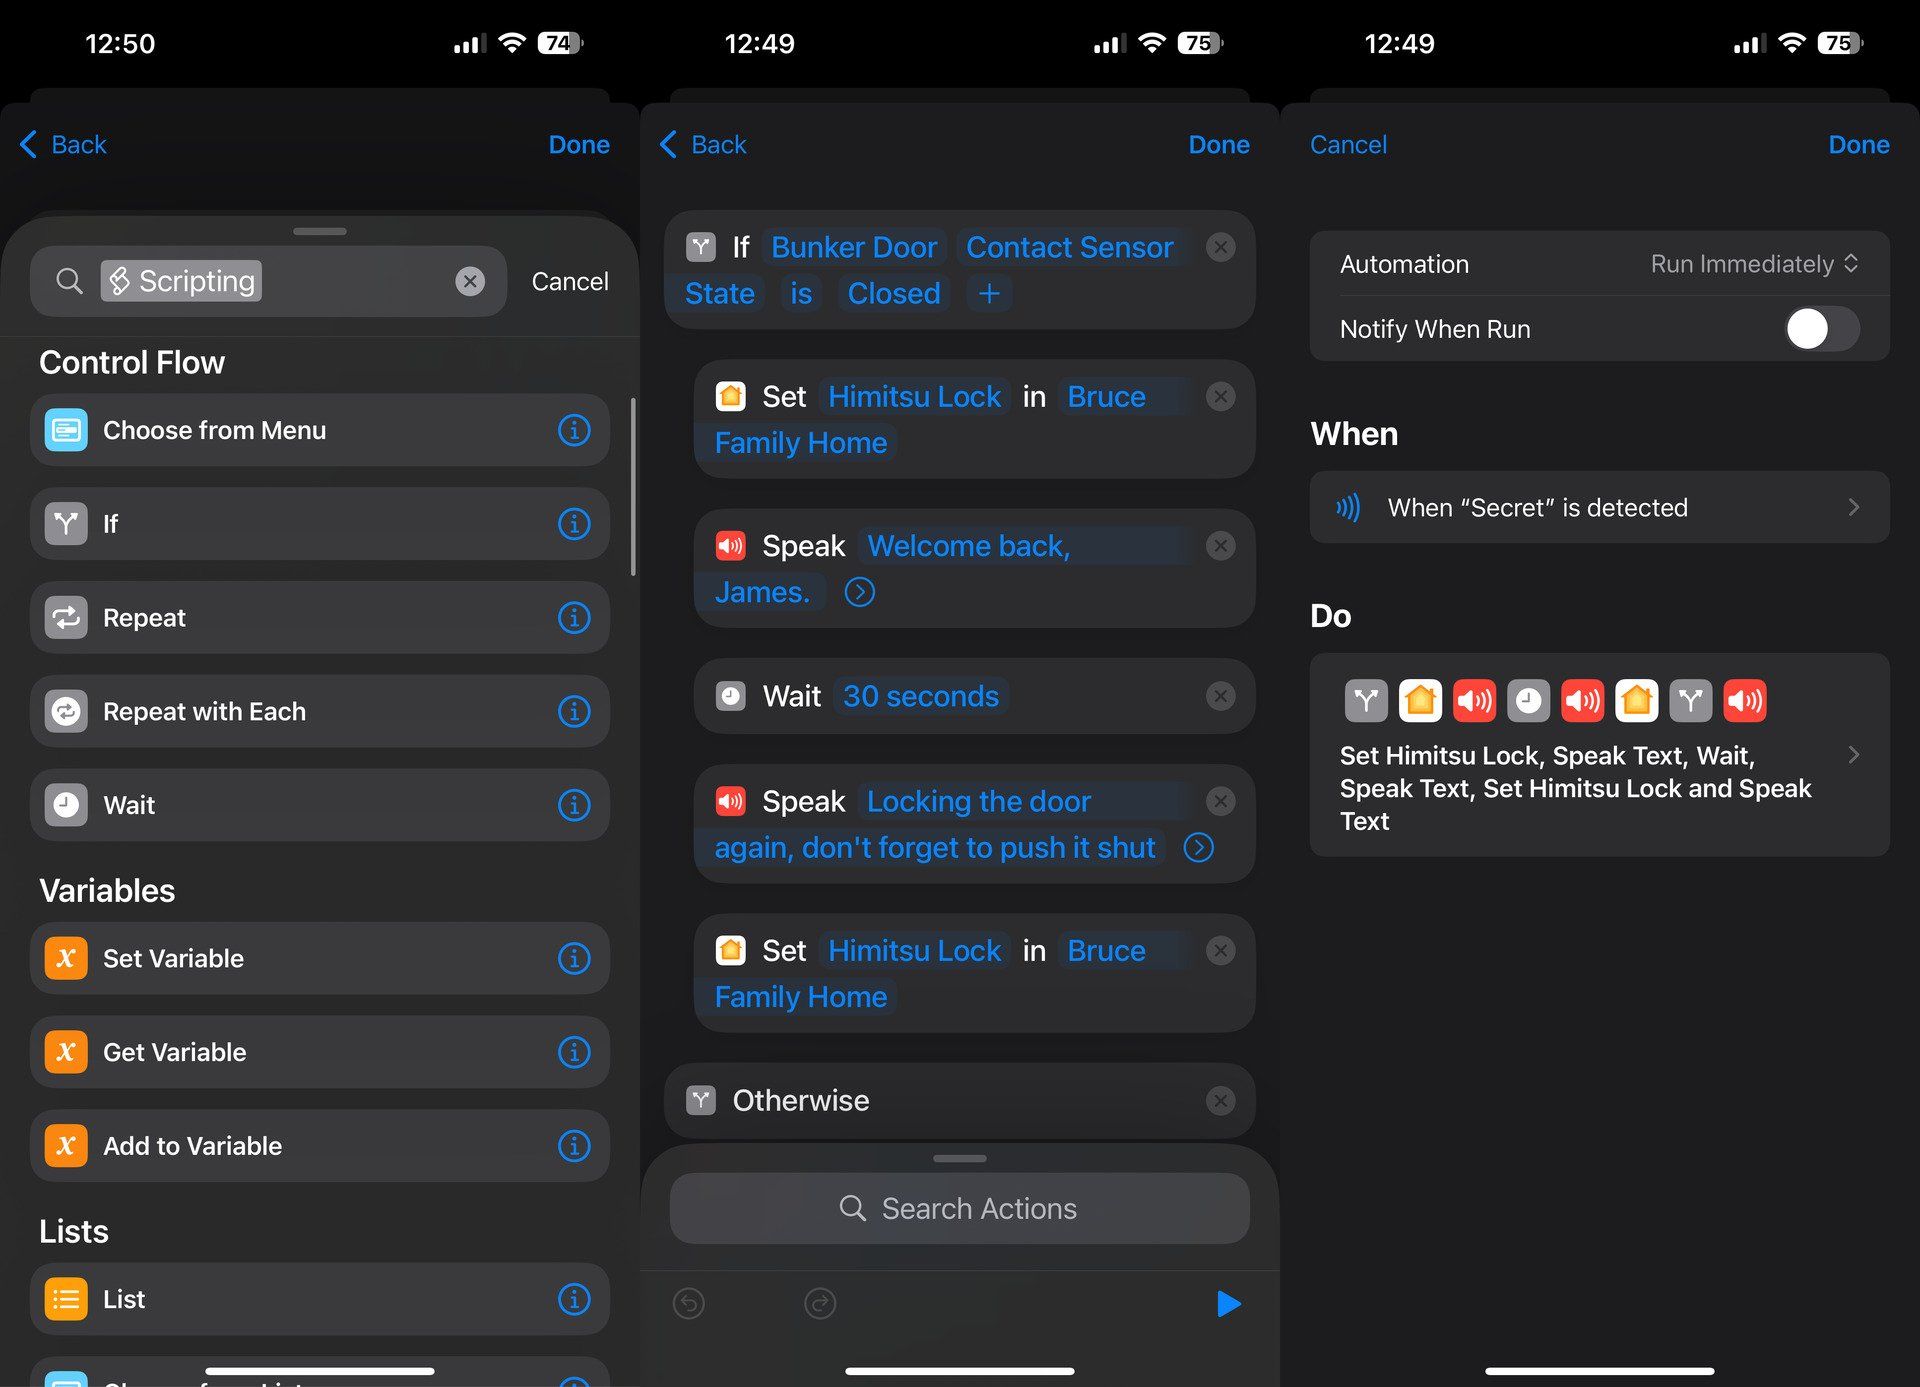
The components of this shortcut can be dragged and dropped within the IF/ELSE statement, making it surprisingly simple. You can even nest IF/ELSE statements if needed.
Note that this isn't really secure—the smart plug is controlled through Homekit anyway, so anyone with access to your Home controller can just turn it off without scanning an NFC tag. For me, this is an Automation for convenience; I have a lot of devices in HomeKit. It also enforces operational security by ensuring the outer door is closed, and prompts me to close the door again. You could make it more secure by not using a HomeKit smartplug. A custom Arduino or ESP32 board with a 12V really would work, and could create a local network API call for you to ping with a local request. But that's overkill for my purposes.
Quick Tips
Siri’s voice: If Siri’s voice sounds wrong and doesn't match your system default, adjust the country in the “Speak Text” option of the shortcut. I'm partial to the Irish female voice. Changing the language of the voice doesn't affect functionality otherwise (don't worry, you don't need to put on an Irish accent every time you ask her a question).
Siri's volume: This appears to be a bug, because there's nowhere in the settings to adjust the spoken volume of Siri, not does the system default affect it. So if you find it's too quiet or too loud, get Siri to say something (anything), then adjust the volume rocker while Siri is speaking.
The device status can't trigger itself: In this tutorial, we've created basic Automations which will run on your own iPhone. You can also create special Home Automation routines which are saved to your home controller, and will run for anyone in the home. However, I found within a Home Automation, you can’t control a device based on its own status. For example, you can’t set a smart plug to turn itself back on with a delay after being turned off; selecting a device as the input removes it from the output option. But, you can achieve similar functionality within a simple Shortcut Automation that runs on your device.
You can't share Shortcut Automations: Unfortunately, once you start scripting things and controlling multiple devices at once with Automations, you can't share them. Basic Shortcuts can be shared, but these can only do one action at a time. So your only option if you want to share these automation routines with other family members is to recreate them on their device.
Who Needs Smart Buttons?
Smart home devices have rendered the humble light switch or plug socket useless if you want to retain remote control, which has led to a new breed of smart buttons to control everything with familiar physical switches. But past a certain point, controlling things from your phone becomes tedious. With some cheap NFC stickers, you can regain control and trigger complex automations—or just turn the lights off.
About the Author

James Bruce
Smart Home Contributor, Videographer, and Developer
James spent seven years in Japan, where he brought technology into the classroom as a teacher and worked part-time as a data centre engineer. Formerly the CTO and Reviews Editor of MakeUseOf, he has also contributed to publications like TrustedReviews, WindowsReport, and MacObserver. With a BSc in Artificial Intelligence, James combines his technical expertise with a passion for writing, programming, and tech reviews. Now based in Cornwall, he enjoys the slower pace of rural life, building LEGO, playing board games, and diving into VR.

Aqara Door and Window Sensor P2
The Aqara Door and Window Sensor P2, a contact sensor, is a key component of the Aqara smart home ecosystem, offering compatibility with the Matter protocol, enabling seamless integration and control within your smart home network.
